Custom Molding
Miters are pretty standard for trim work, but all of the 45° cuts really slow down installation. I prefer rosettes, corner blocks, and plinth blocks because they make cutting a breeze and, in my opinion, add a bit of elegance. Unfortunately, the trim my wife and I selected didn't work with off-the-shelf blocks. So, I decided to make my own. Not only was I able make blocks that fit our trim, but could make more than 10 plinth blocks for the price of one off the shelf! Here's how I did it.
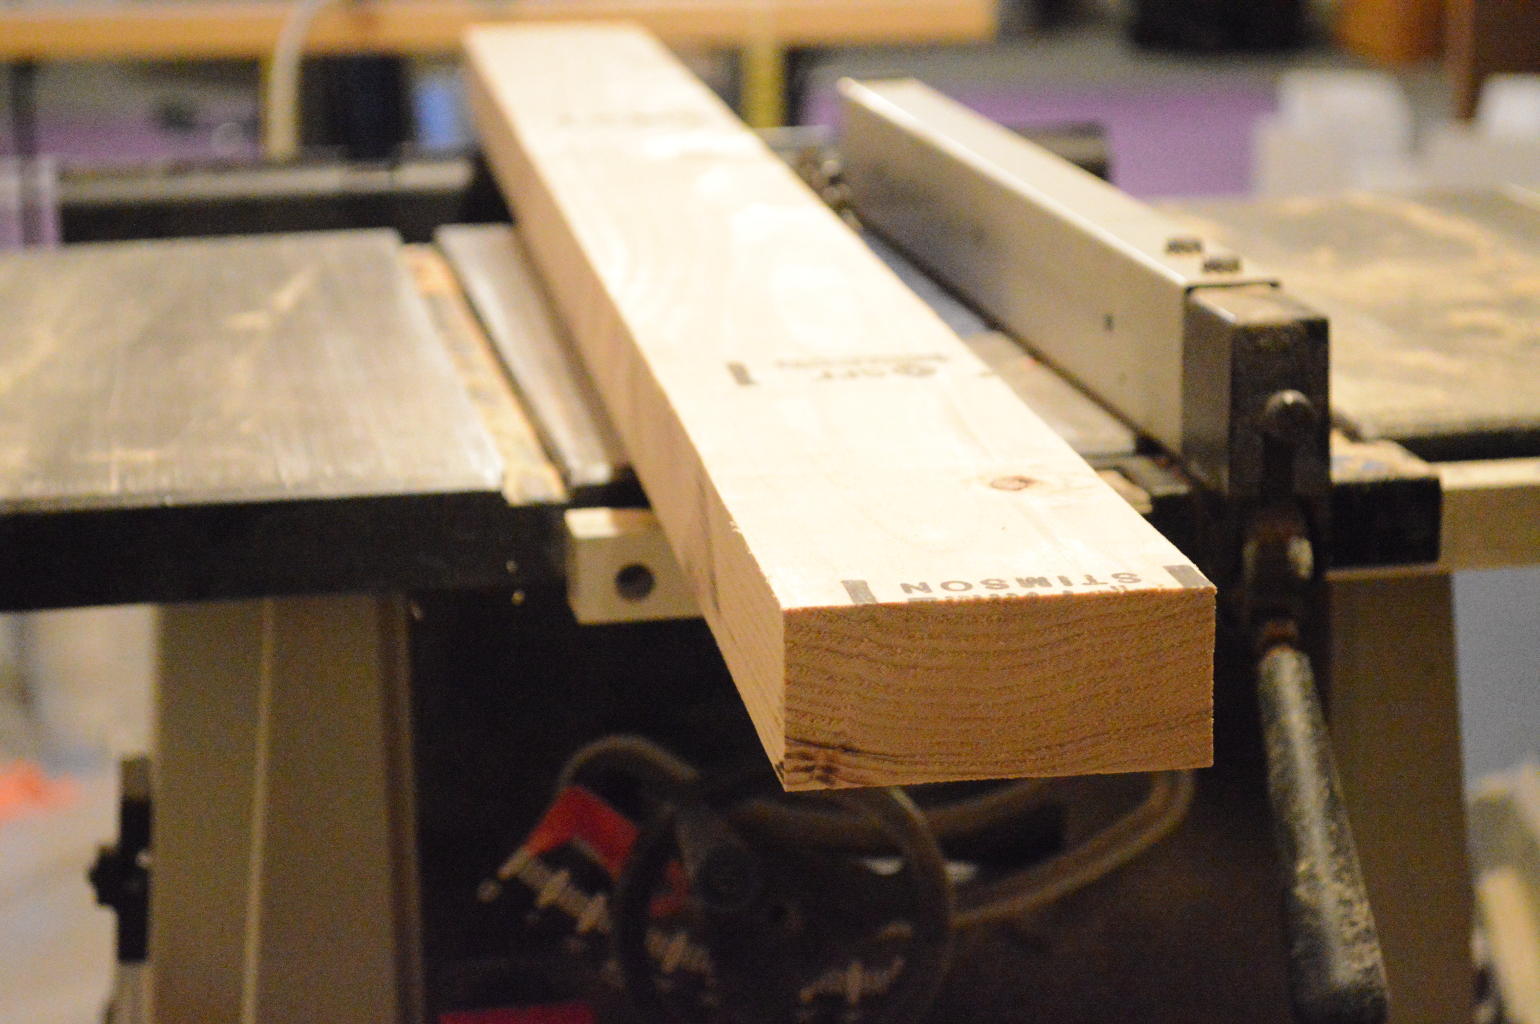
1. Trim to Width
I went super-low-end on my lumber. Just a standard 2"x6" for under $4. Dimensional lumber usually comes with rounded corners. So,
I started by trimming my boards to width at the table saw. In my case, that was 4". If you were shooting for 3" widths, you could
probably use a 2"x4". You definitely need about a half inch more than your final width so that you can trim the rounded edges.
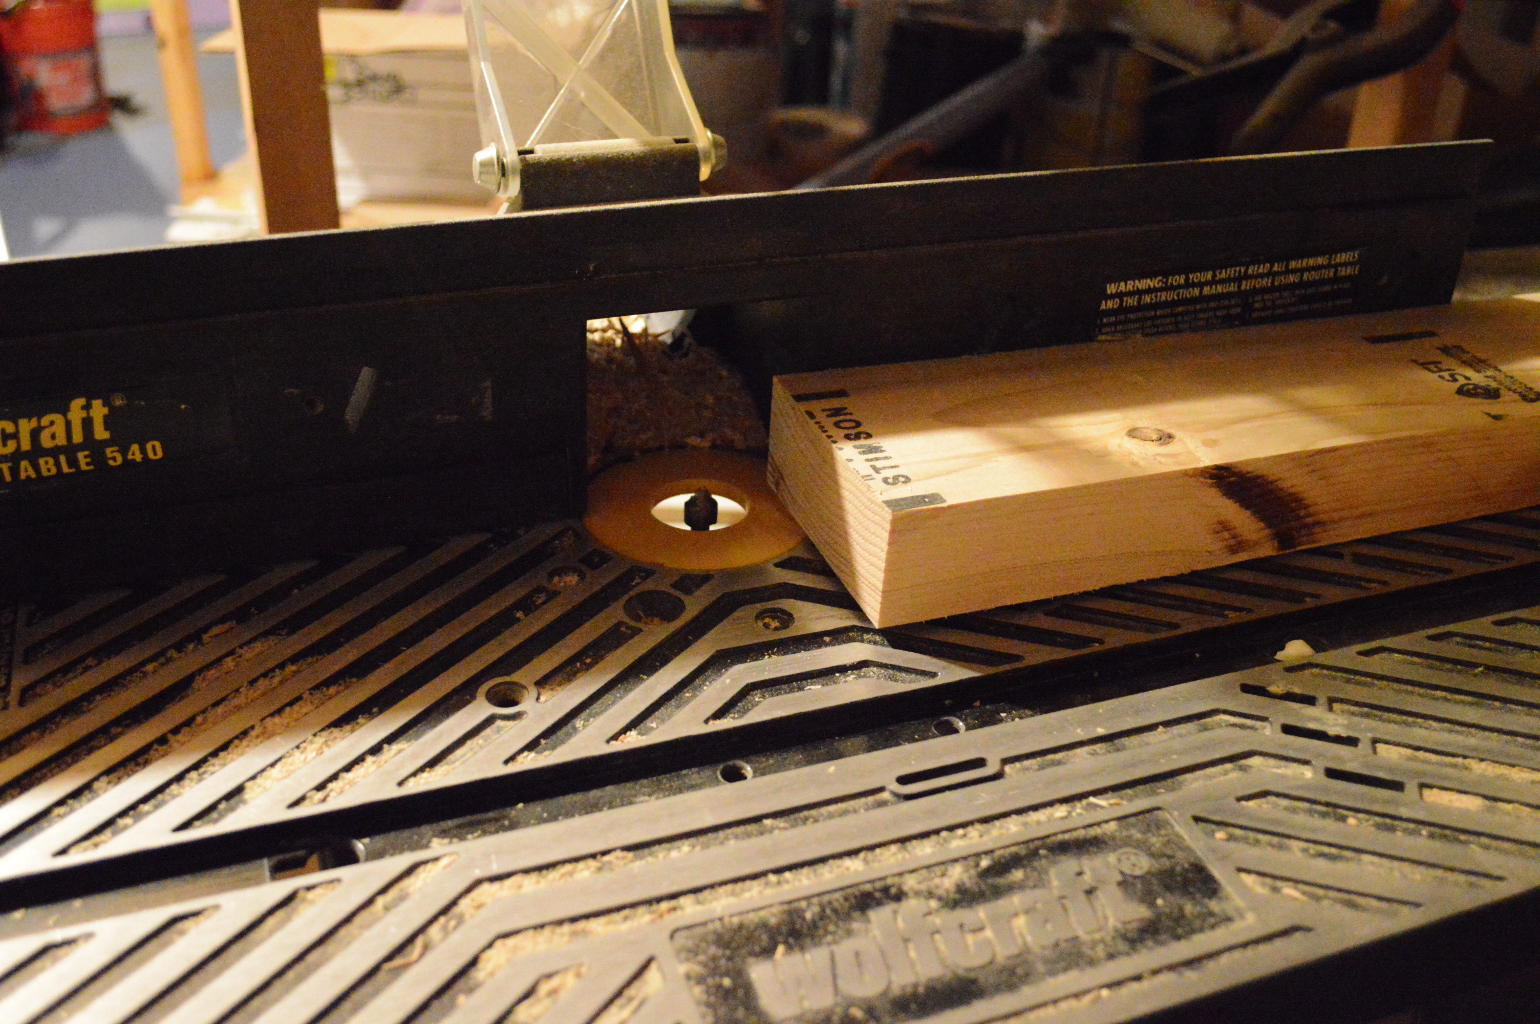
2. Route the Vertical Edges
If I routed each block individually, there wasn't enough surface area to get clean, straight router passes. To minimize
any wonky routing, I routed what would become the sides, or vertical edges, before cutting the board into
individual blocks. That gave me one nice long pass through the router table with a lot of stability.
I used a CMT 3/32" radius ogee bit to shape the edges. I only had the plunge bit. A guided bit
probably would have worked a bit better, but sometimes you make do with what you have. If you have a bit with a guide bearing and an
appropriate shape, you'll probably have straighter cuts than I did. But mine weren't horrible. You can totally do without guide
bearings.
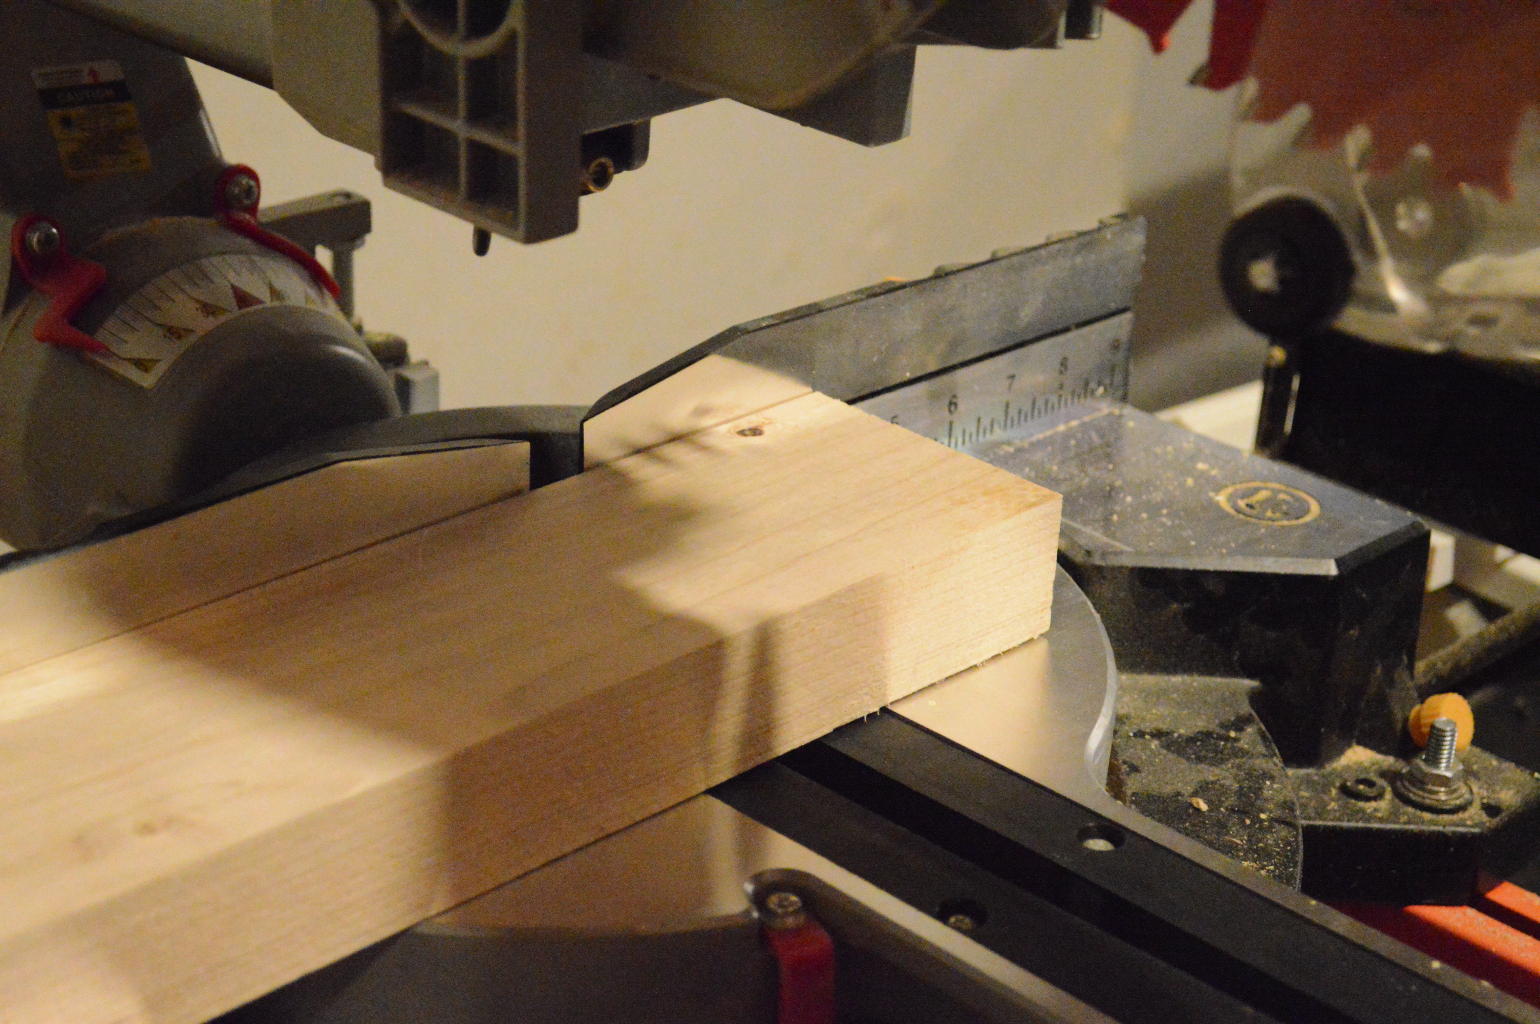
3. Cut Individual Blocks
After routing the horizontal edges, I cut the board into individual blocks. You could setup a stop on your miter saw. I just used
the guide on my miter saw's fence.
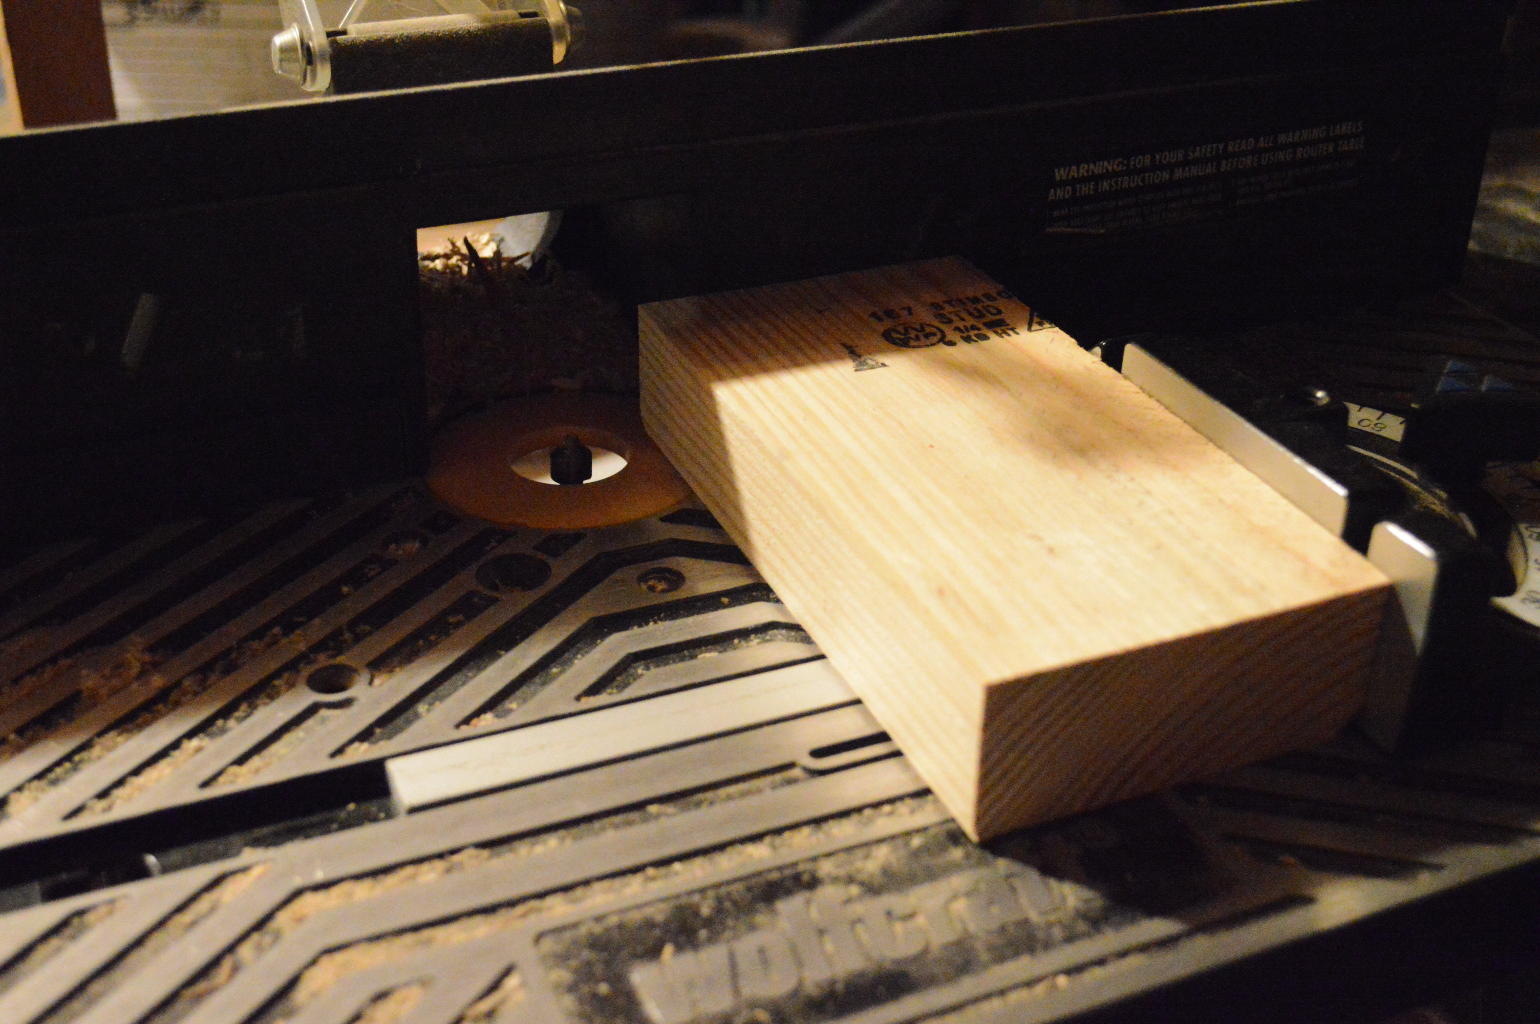
4. Route the Horizontal Edge(s)
Now that I had individual blocks, I went back to the router table to shape the top and bottom edges as needed. The 4" or 1 1/2" width of the blocks wasn't enough for the router table fence to support, so I used the miter gauge to guide the pieces past the bit.
5. Sand and Finish
From there, it was just a matter of filling any unwanted knots/cracks, sanding, priming, and painting the blocks.
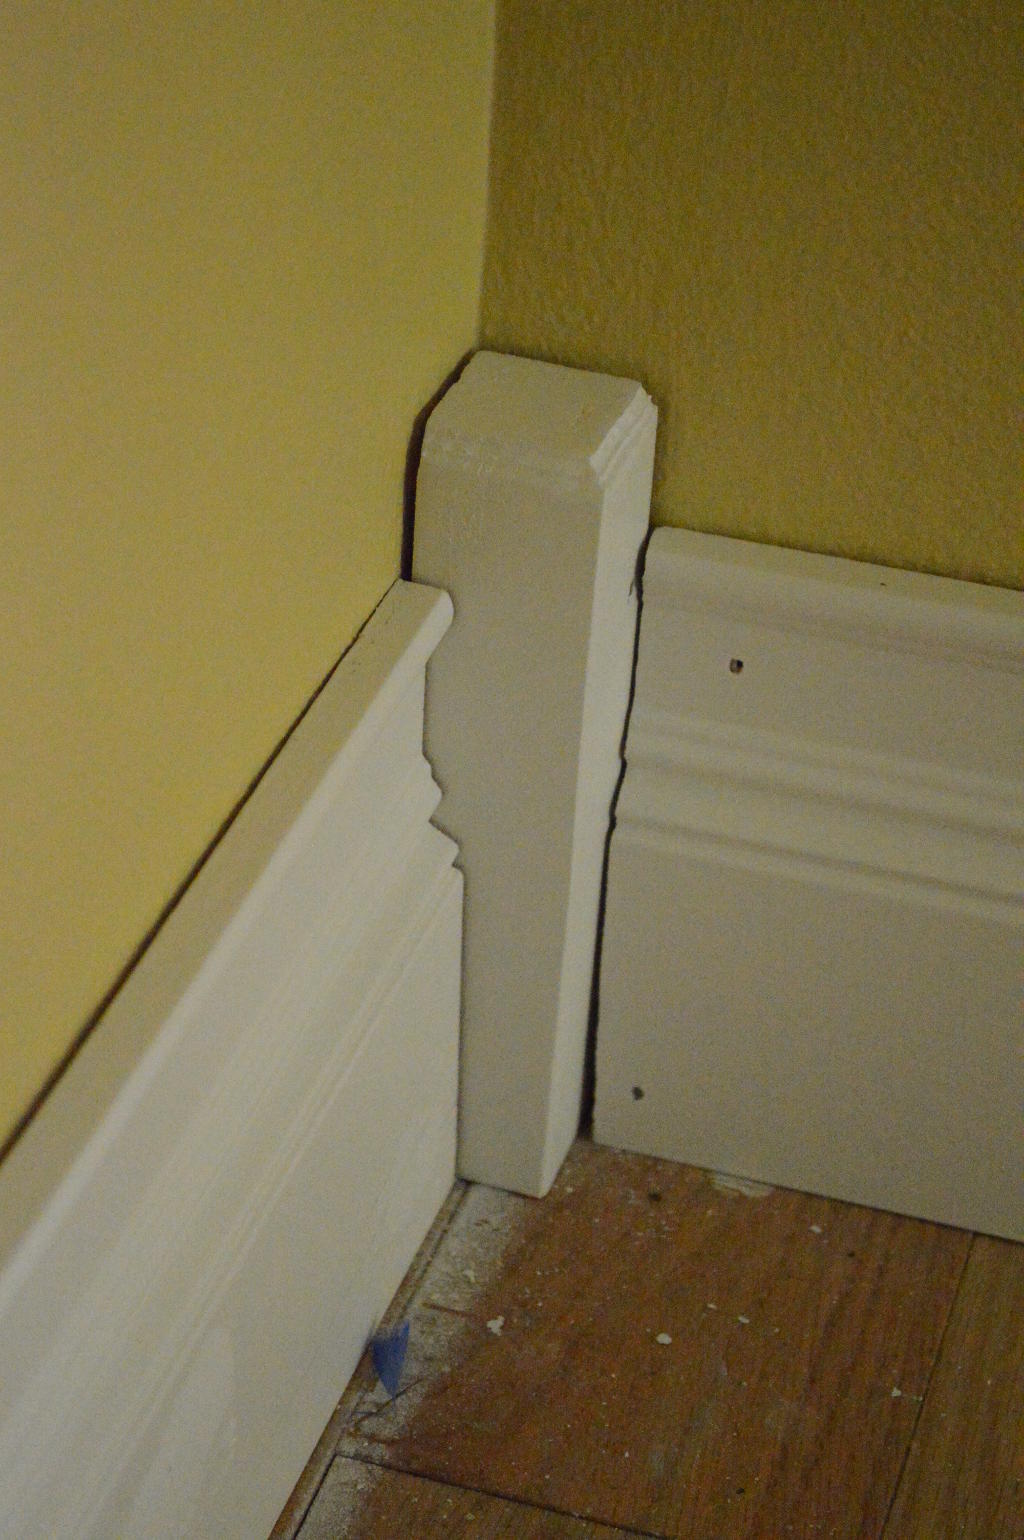
6. Install
Due to the thickness of my blocks, I needed to get 2 1/2" finishing nails. Anything less was
just anchoring into drywall. If my finish nailer accepted longer nails, I would have liked a bit more length. But, 2 1/2" was able to
grab onto the header and door frame.
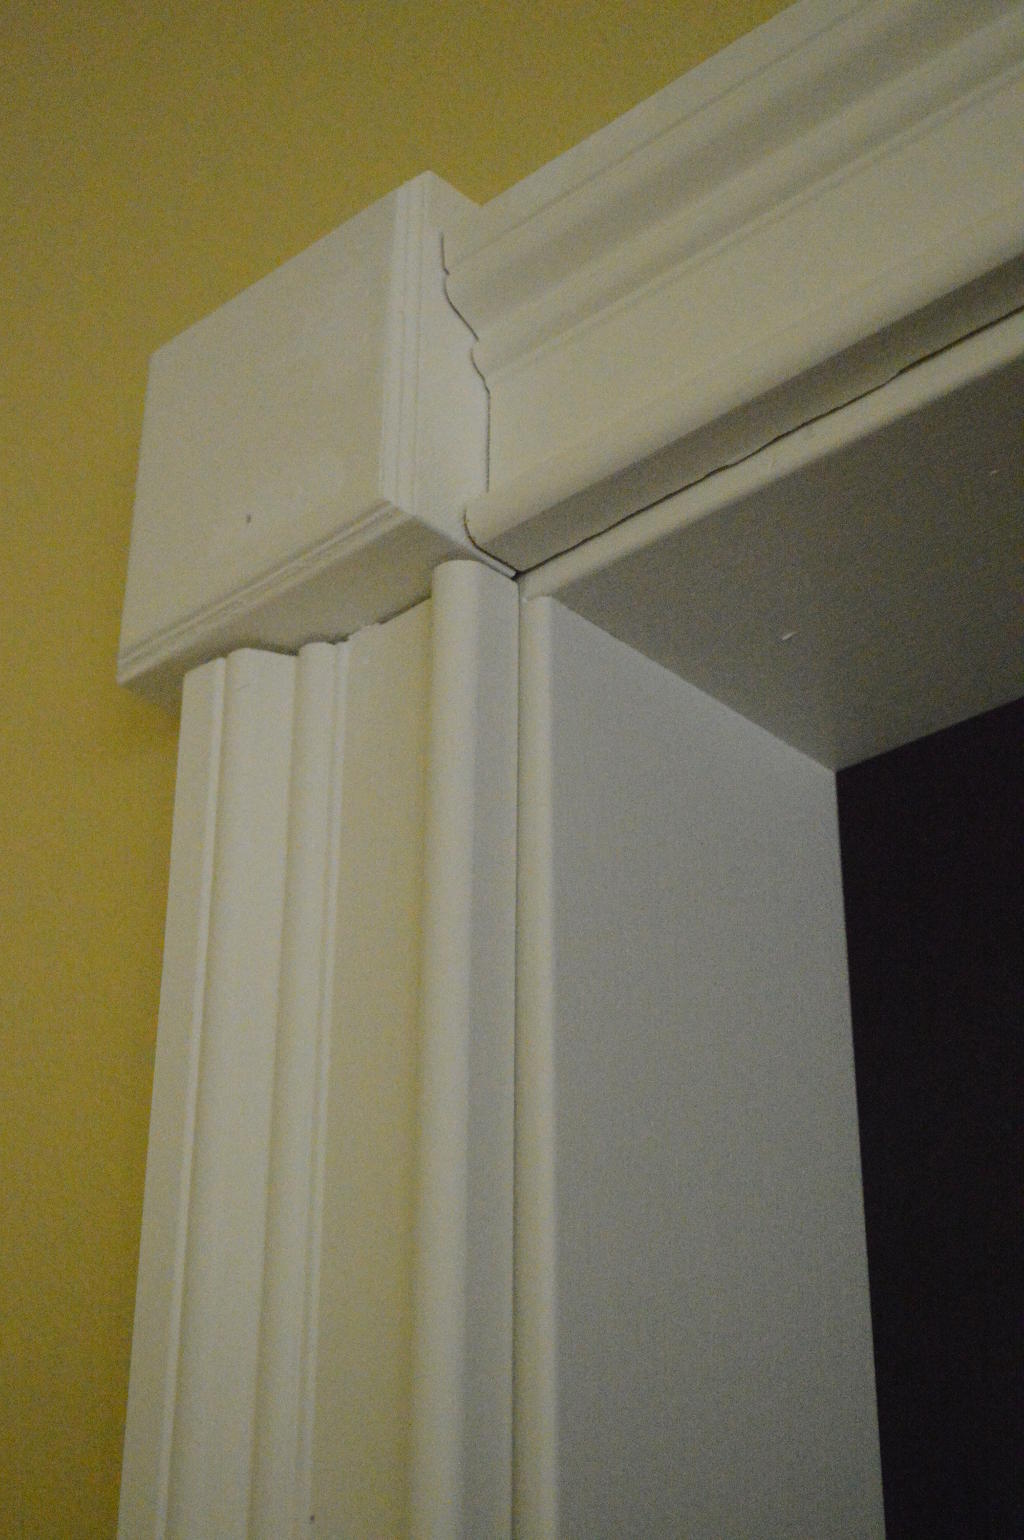
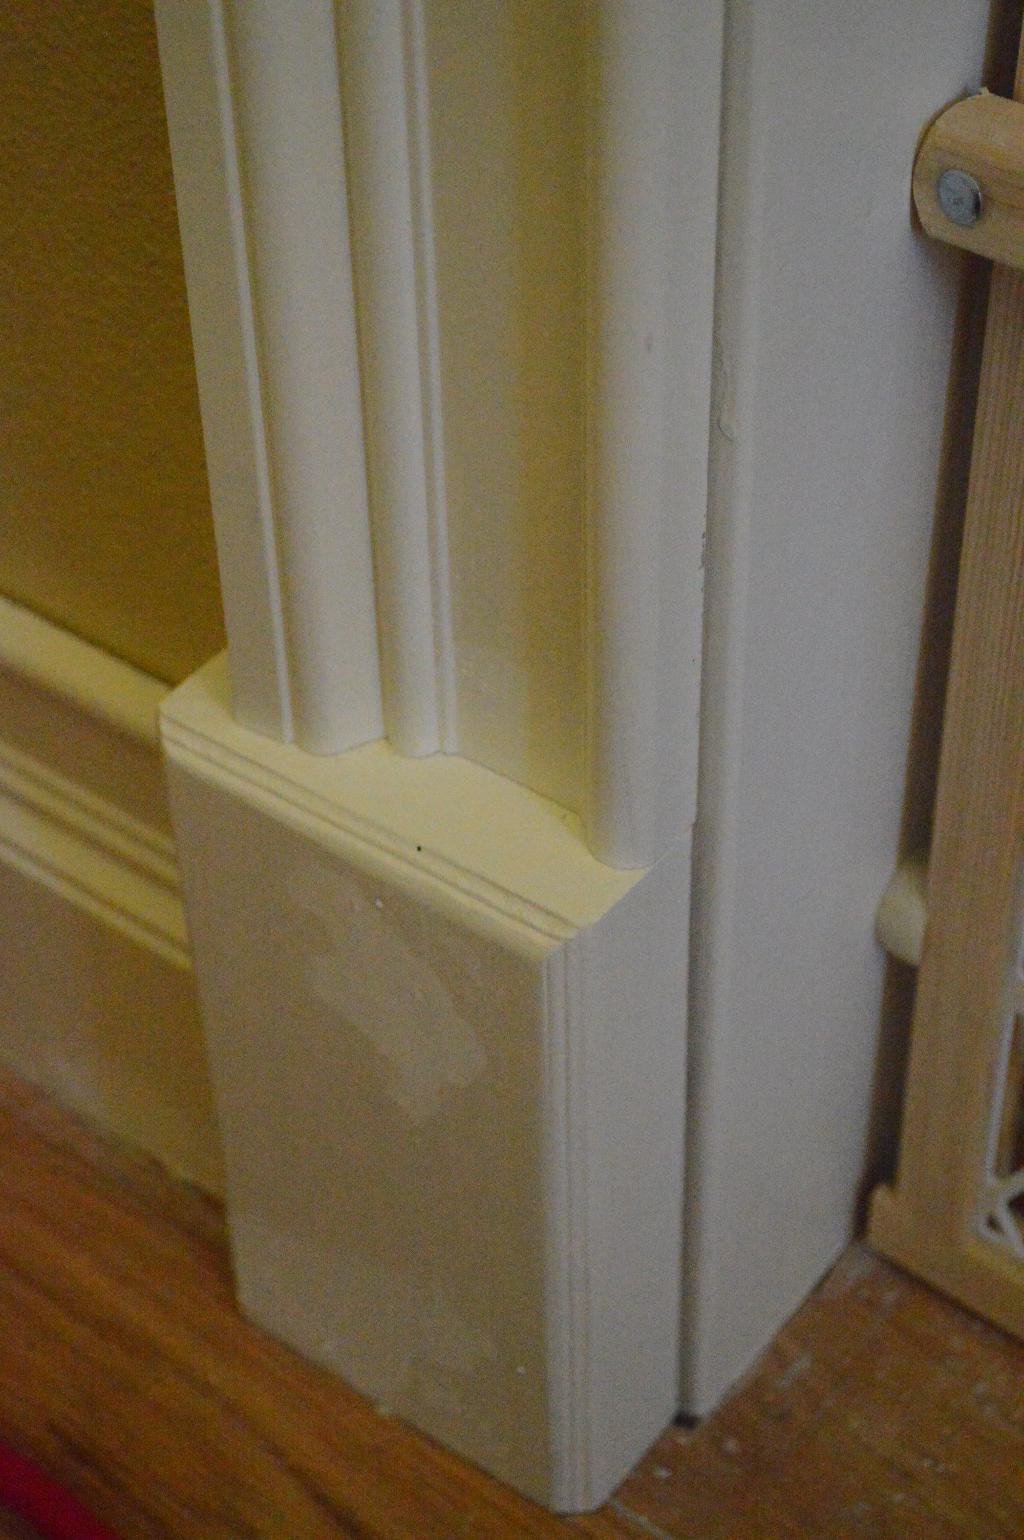
7. Enjoy
Between the look of the corner and plinth blocks, the elimination of cutting 45° angles everywhere, and a material cost savings, I'm really happy with the decision to build my own molding. You may be asking, "What about the bullseye or flower designs you find on most off-the-shelf rosettes? These look pretty plain without a design." True. But fear not. I have an update on the way that will really put the "custom" in "custom molding."